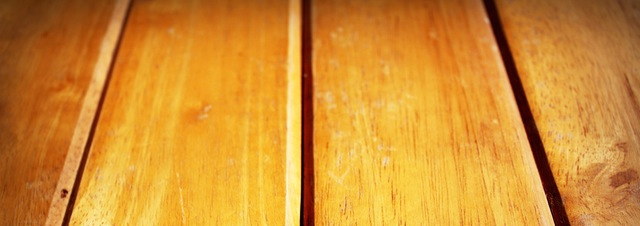
Hardwood floors are known as a timeless pick that will last a long time and fit with nearly any type of décor. Hardwood floors hold their value because they can be sanded, stained, and refinished many times before they need to be replaced. If you’re thinking about purchasing hardwood floors, though, you may be wondering how tough installation will be.
Selecting the Flooring
Hardwood flooring is made from natural wood, so the coloration and patterning may vary slightly throughout the flooring. Be sure to consider this and pick a flooring style that won’t clash with your other furnishings and colors if it’s slightly different in some spots. Look through the wood planks before beginning installation so that you can vary the flooring in a way that won’t look patchy.
Prepare Subfloors and Wood
Subfloors must be structurally sound and level, which may take some time if other flooring must be removed first. The floors must also be cleaned thoroughly before installation begins. If preparations must be made, this time can also be used to allow the hardwood to adjust to the temperature and humidity of the home by bringing it in.
Lay Down Tarpaper
After the subfloor has been leveled and cleaned, it’s a good idea to lay tar paper down. This underlayment is easy to work with and can be nailed in place with a staple gun. Tar paper will protect the hardwood floors from moisture and act as a barrier between the hardwood and the subfloors.
Lay the First Row
The first row of hardwood planks should be placed against the starting wall with spacers between the plank and the wall to allow for heat expansion. These planks can be face nailed to the floor because the baseboards will cover them. The tongue side should face the center of the room.
Nail the Next Rows by Hand
After the first row has been installed, the next few rows should be blind nailed by hand. This technique conceals a nail by putting it through the tongue and then using the groove of the next plank to cover it. It’s important that the nail be driven slightly below the wood so that it doesn’t interfere with the joint. It’s also important to make sure that the length of the wood is varied between rows so that the flooring will not come up.
Use a Flooring Nailer
If the floor covers a large area, use a flooring nailer to move quickly through the next few rows of flooring. Use the same blind nail technique as you move through the planks and use a mallet to tighten the new rows before nailing. Be sure to continue alternating the lengths of the boards so that no two boards line up.
Add the Finishing Touches
For the last row of planks, use a block and pry bar to insert the boards firmly. Place glue on the groove of the boards to hold them in place and face nail the other edge to the floor. Trim tar paper as needed and install baseboards to cover up the expansion gaps and face nails.
If you are considering installing hardwood floors in your home, call your Longwood flooring professionals today to find your best deals and begin searching for your perfect flooring.


