How to Remove Tile Flooring
Simple and safe tile removal with minimal cleanup
Oct 1, 2020
Installing a new floor involves a lot of prep work, including removing the old tiles. While you could just cover up the old tiles with the new ones, removing the tiles instead has a lot of advantages. These include checking on the health of your subfloor and seeing if there are any mold issues.
If you completely remove the tile before starting any new flooring project, you’ll be able to see if there are any problems that need to be addressed before you cover them up again. You can make any necessary repairs or deal with mold instead of letting the problem get worse.


Can I Remove Tile Myself?
Removing tile yourself is a labor-intensive project, but it can save you thousands of dollars that you would have spent on hiring a professional. It’s important to have everything you need and to do it right in order to avoid damaging your subfloor (or the tiles, if you want to repurpose them). If you feel up to a DIY project, then self-removal is a good way to go.How Much Does it Cost to Hire a Professional?
The cost to hire a professional to do it for you can add to the cost of a floor installation significantly, sometimes up to $3,000. The cost depends on the size of the room. On top of the costs of the labor for removing the tile, there are also the haul-away costs. Total, it can average between $2 and $5 per square foot of tile removal.Equipment for Tile Removal
Before you get started on any tile removal project, it’s important to make sure you have all of the proper equipment ahead of time. This includes safety gear to protect yourself and others as well as the tools to do the actual tile removal.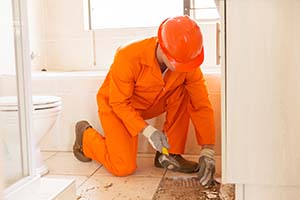
Safety Gear
Removing tile can be a tricky business and it’s important to take all safety precautions to make sure that you do it safely. This means investing in safety glasses to protect your eyes, a dust mask so that you won’t inhale dust, and leather gloves to protect your hands. Safety gear should be worn by anyone else who comes into the work area.Tools
The tools you’ll need to take out the tile are a paint scraper, floor scraper, chisel, and a drop sheet to contain the dust. The tools will help you scrape the tile and completely clear all materials from the floor so you can start fresh. Depending on how your tile was installed in the first place, you may need a hammer to break up the tile. To remove the underlayment, you’ll need a screw gun, a roofing rake, and a flat shovel.Tile Removal Steps
Step 1: Removing the Trim
Before you start removing the tile, the first step is to remove all trim and baseboards from around the room. Be careful with all of the materials that you remove so that it can be easily reinstalled when you’ve finished removing the tile and have installed your new floor. Also, cover any vents that are in the room so that dust doesn’t get into them (and from there the rest of your house).Step 2: Removing the Tile
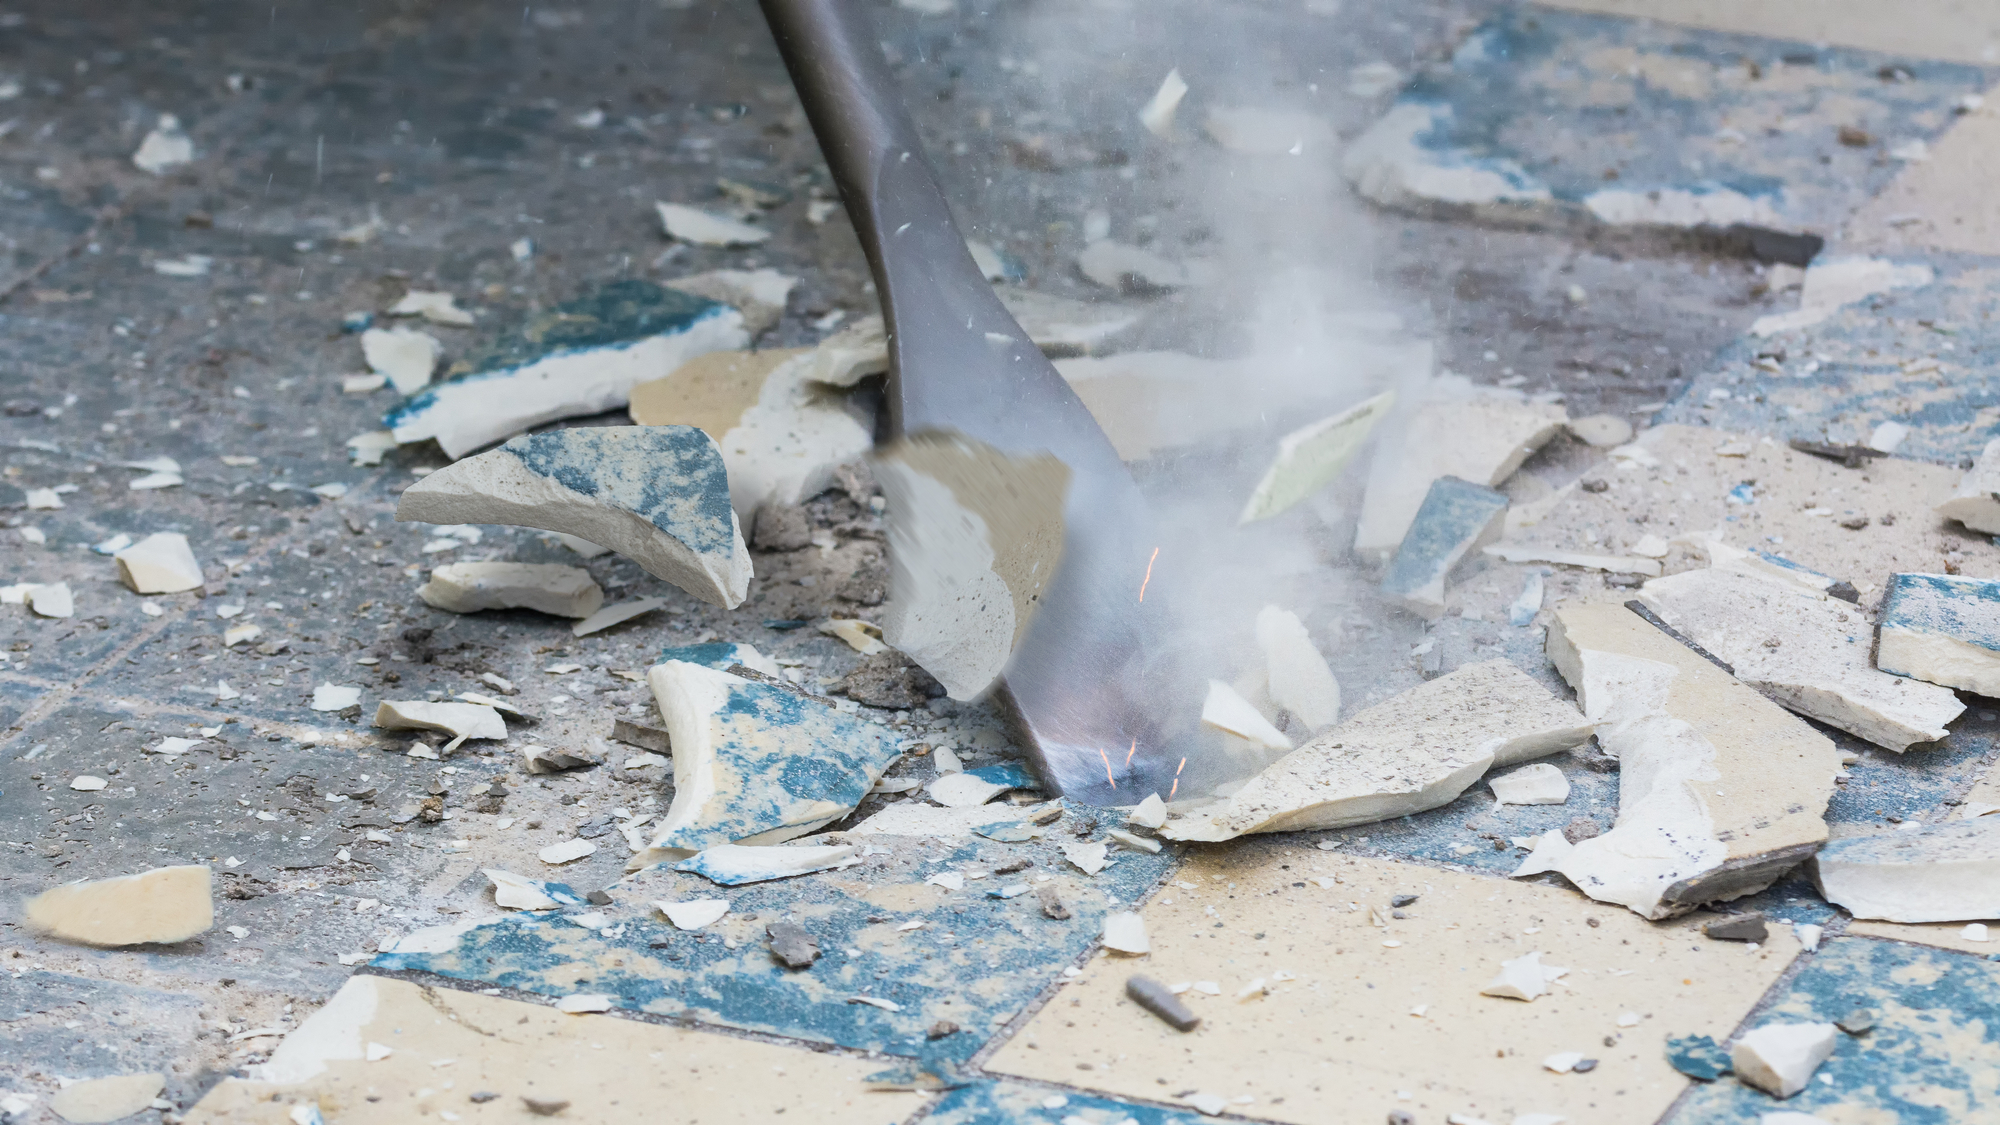
Once you’ve got all trimmings out of the way, it’s time to actually remove the tile. This process is trickier if you want to preserve the tiles than if you’re just replacing them. If you don’t care about saving the tiles, you can get started by smashing them with a hammer. Start by breaking up a single tile with the edge of a hammer. Use a chisel to remove the rest of that tile and then to remove the tiles near it. You’ll have to break up at least one tile, but if you’re careful about prying up the ones next to it, you can preserve the rest. You can use the claw end of the hammer and they should come up easily. If you don’t care about saving the tile, then you can just break them all up with the hammer, if you find that easier than prying them up. If your tile is adhered to the floor with cement, preserving the tile may not be an option. If the tiles won’t come up easily, then break them up with the hammer and use the floor scraper to remove it.Step 3: Removing the Underlayment
Once you’ve completely removed all of the tiles, check out the status of the underlayment. You can use the hammer to remove the mortar from the underlayment, but depending on the state of the underlayment, it may need to be replaced. Adhesive removal can be challenging, so it may be worth your time and money to remove and replace the underlayment. If it’s old, it may be deteriorating anyway. Remove the underlayment by first removing any screws that may be keeping it attached to the floor. Then, use a roofing rake or a flat shovel to pry up the edges of the underlayment.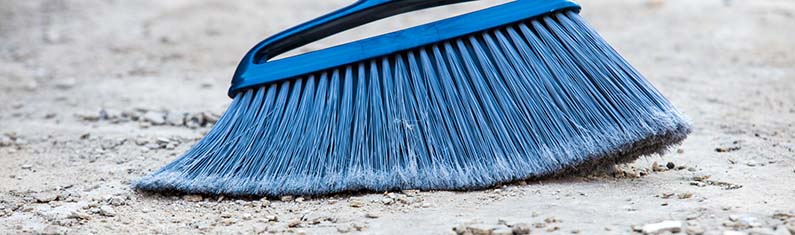
Step 4: Cleaning the Subfloor
Once the underlayment has been removed, it’s time to clean the subfloor. Scrape any remaining adhesive from the subfloor and then clean up any screws, bits of tile, or anything else that’s on the subfloor. Check it out for any mold or damage that might need attention. Make any necessary repairs or cleanings. Before installing a new floor, the subfloor should be completely clear of debris, clean, and in good shape. You don’t want to cover up damage or mold that might just get worse over time.How Can I Make Sure My Floor Doesn’t Have Asbestos?
Some older tile floors were installed using asbestos, which is dangerous because it can get into your lungs and cause diseases. The only foolproof method to determine whether or not your floor is to have a professional test the area for asbestos fibers. However, you can look at the size of the tiles that were on the floor (and for an outline of older tiles underneath). If the tiles are nine inches on each side, that’s a sign that there may be asbestos involved, as it was commonly used with tiles of that size.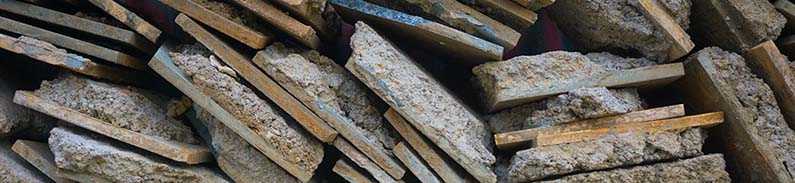
How Can I Dispose of the Old Tile?
If you had your tile professionally removed, the installer would charge a fee for its removal and then handle that for you. If you remove the tile yourself, you’ll also have to dispose of the tile yourself. Old tiles aren’t usually recyclable with normal recycling. You can take it to your local recycling center after calling them first to make sure that they can take it. If your tiles are in good shape, you could donate them to someone else who may need them. There are community construction projects that may be grateful for a donation of some free tile.What Might Require a Professional?
If you discover asbestos, the cleanup and removal must be done by a professional. It can be dangerous to work with, so it’s essential that you call professionals to handle asbestos. If your subfloor is damaged or has mold, you may want to consider hiring a professional to repair it so that you know it’s stable and fully clean before installing new tile on top of it.Select New Tile Flooring
Browse our showroom and meet with one of our tile experts to plan your new flooring project.
Contact Us