Tile installation is often thought of as something best left to the professionals, but the do-it-yourself approach is not out of the question. Before beginning a tile project, however, it is important take the time to understand how to do it right. There are certain steps that must be taken and there is equipment that is needed to ensure a successful tile project.
Measure and Plan Ahead
Before purchasing your tile or making any other preparations, measure the floor and take in account any irregular variations along the walls or around doorways that may require special cuts. Try to a tile shape and size that will allow you to maximize the number of whole tiles used so that you only have to cut a few. Figure out how much tile you will need to cover the floor, then purchase extra to allow for errors.
Prepare the Subfloor
The mistake that many make is to begin laying tile without preparing the subfloor. This can cause tile to buckle and grout to come up over time. To prepare the subfloor you must find and fill in dips in the floor using a level and self-leveling underlayment. You can fill seams in the floor with caulk. Rolling the floor with primer before beginning may help to fill in minor cracks or abrasions and improve the tile bond.
Compile Tools and Materials
You may need different tools for your tile project, but there are a few basics that every tile job will require. Tile, thin set, and grout are necessities. A drill with a mixing paddle, measuring tape, a wet tile saw, a tile trowel, tile spacers, a rubber mallet, and a grout float are also needed. You may also wish to acquire grout stain blocker, grout sealer, and cleaning and safety supplies.
Laying Thin Set
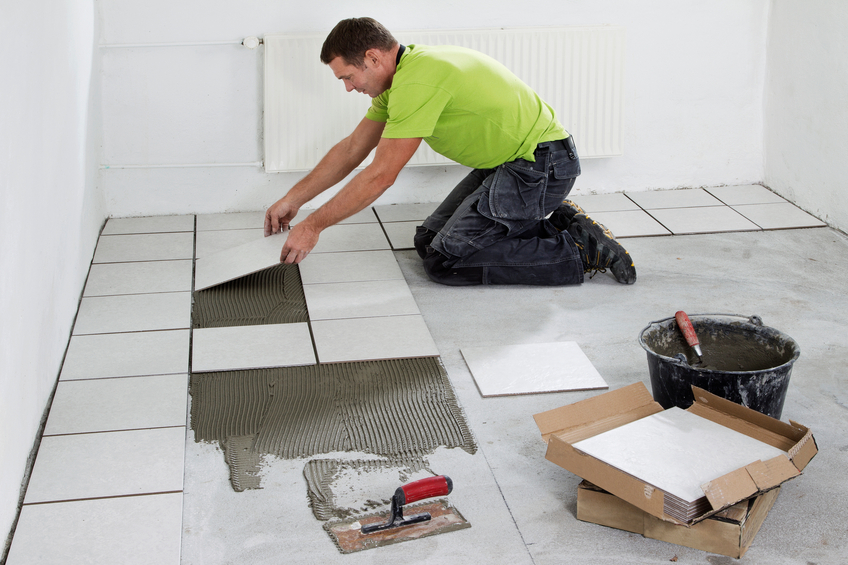
It may help to mark reference lines on the floor to follow as you move through the tile project. Tile should always be installed from the center of the room outward. After the layout has been determined, mix the thin set in a bucket using a drill with a paddle attachment. Spread the thin set on the floor carefully, using reference lines and holding the trowel at a 45 degree angle. Make sure that the thin set is applied evenly.
Laying Tiles
Tile should be placed onto the thin set quickly, using reference lines for guidance. After the first tile has been lightly pressed and twisted into place, tile spacers should be placed around the edges. The next tile should be butted right up to the spacers. All tiles should be laid in this manner, placing thin set down as you go and laying down tiles and spacers quickly. The edges and areas that will need cut tiles should be left for last. Tiles should be cut using a wet saw and nippers as needed to fit.
Grouting the Floor
Before installing grout, remove tile spaces. Mix the grout well and apply to joints, moving a grout float diagonally across tile joints to remove excess. After the grout has been allowed to dry for about 20 minutes, clean the tiles with a sponge to completely remove the grout from the surface of the tiles. Allow the grout to dry for about 72 hours before walking on it.
For more advice regarding your tile project, contact your local flooring professionals at Flooring HQ today.