Laminate flooring is a popular choice for flooring. It is typically inexpensive, mimics the beauty of hardwood flooring, is “softer” than tile or hardwood, and is relatively easy to install without the help of a professional. There are only a few tools that are needed and just watching a tutorial about how to cut the pieces and following the directions may produce outstanding results. Simply follow the steps listed below to install beautiful laminate flooring.
1. Clean the Subfloor
If there is carpet or another type of flooring in place, remove the old flooring. Be sure to remove tack board, nails, and wall baseboards that may get in the way of installation. Thoroughly clean all of the debris off the floor so it is completely flat.
2. Put Down Plastic Underlayment
Plastic underlayment acts as a moisture barrier and helps to provide a softer feel to the floor. Lay plastic underlayment that is specifically designed for laminate flooring directly on the subfloor. Bring the underlayment out and up the wall about two inches to provide plenty of excess. Tape the underlayment to the wall with painter’s tape that can be removed easily. Overlap the underlayment where necessary, making sure to allow about six inches of overlap and taping the sheets securely together with duct tape.
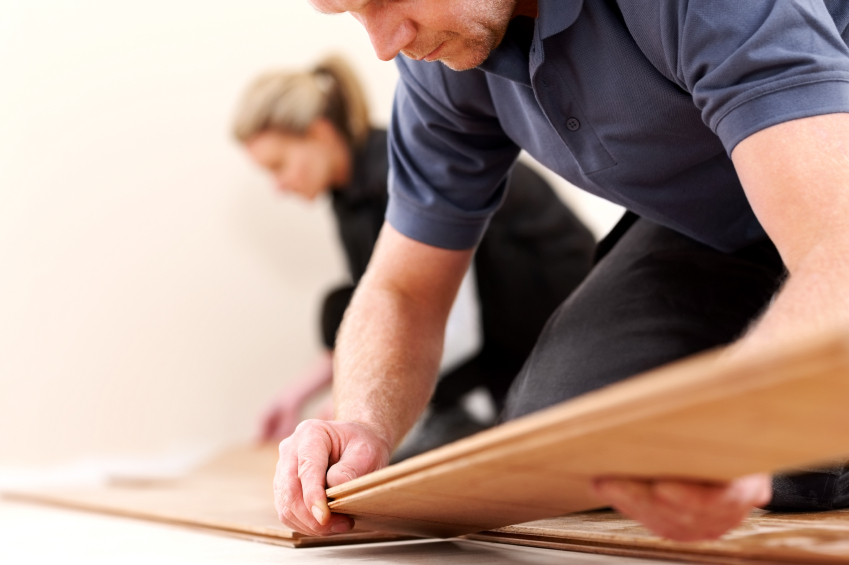
3. Begin Laying Flooring from One Corner
Use spacers to hold the flooring away from all walls about a quarter of an inch so that the flooring has room to expand. Lay the flooring, snapping the pieces together according to the directions. Be sure to alternate long pieces and short pieces as you move from one row to the next so that the joints between pieces are staggered from one row to the next. When you reach the end of each row, cut the last plank with a saw to fit perfectly, leaving a quarter inch gap away from the wall marked with a spacer.
4. Tap Planks Together
A tapping tool and hammer can be used to fit planks together properly as you move down the length of the room. Scrap wood can be used to tap rows together, so that the grooves do not become damaged. If grooves or planks become damaged, be sure to remove the plank and use a fresh, undamaged plank. When you get to the last row, cut the planks lengthwise to fit, again leaving a quarter inch gap away from the wall.
5. Install Transition Strips
Transition strips fit laminate flooring together with other types of flooring, creating a smooth and polished look. Be sure to remove transition strips from packaging and figure out exactly how they will fit so that you can cut planks to fill in gaps as necessary. Wood putty may also help to perfect the look of flooring around oddly shaped doorways.
6. Complete the Finishing Touches
Remove spacers and replace baseboards to cover the gaps between the flooring and the walls. Trim underlayment to fit under baseboards. If baseboards are very thin, quarter round may be necessary to completely cover gaps while still allowing room for expansion.
If you are thinking about installing laminate flooring, visit Flooring Headquarters today to begin the pricing and selection process.